How to change a door lock (euro cylinder) -4 smart & easy steps
We often get asked how to change a euro cylinder. Many people seem to have trouble doing them. Quite rightly, as simple as the process is, it is common to run into issues. Once we have shown them how, they are amazed at how quick anyone can do it easily.
This guide will hopefully give you the same instructions, with the use of images.
This guide will hopefully show you how to complete the task in under 10 minutes with the right tools.
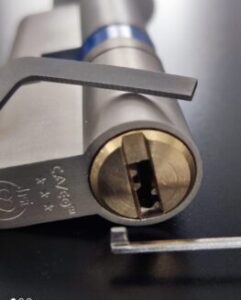
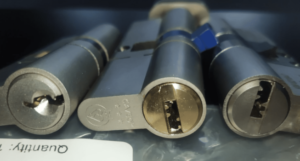
This guide is to be used when you have a replacement for the euro cylinder before you start the job.
To measure the size of a replacement lock to fit your door see this external Link.
Make sure you do not leave your home or property unsecured. Just nipping to the shop whilst it is unprotected is long enough for a thief to take advantage.
Falter at any stage and we can help. Please do not jam a cylinder in place if you get too frustrated. We can come out and show you how to change a euro cylinder, then your next project will be so much easier.
Under no circumstances should you remove the lock and nip to the shop to buy one with it in your hand. You are leaving your property unprotected and also risk locking yourself out if the wind catches the door whilst you are shopping.
Locksmith Tools Required to change a euro cylinder
The locksmith tools required to change a euro cylinder are a number 2 Philllips drive screwdriver, a number 2 pozi screwdriver will do, and possibly a flathead screwdriver as some older PVC handles are fitted with flatheads.
These are the locksmith specialist tools that most people own (a bit tongue in cheek).
Also if you do not have a thumbturn lock ideally you need the key to fit the lock.
This process would be different if you do not have the key for the lock or a thumb turn on the interior, you would require a locksmith to help you do the job.
There are many how to’s, explanations and videos available to look at on the internet that show you how to change a Euro Cylinder on a UPVC door.
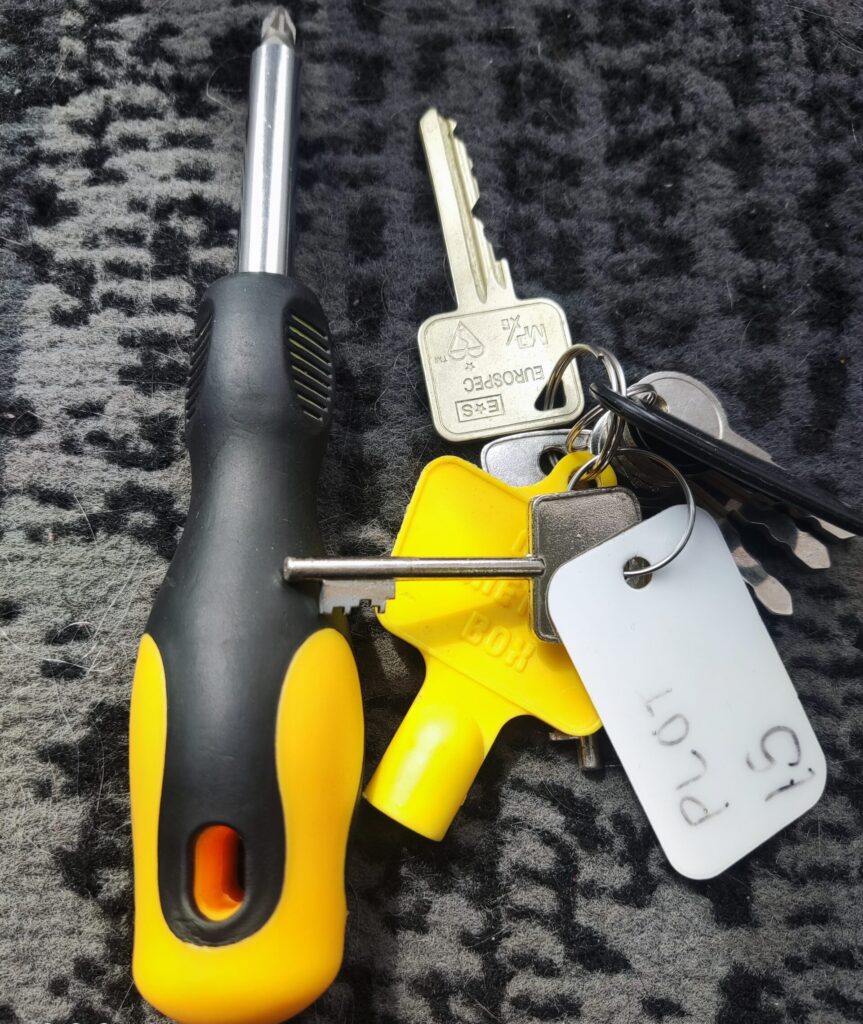
1. Loosen the Handles – how to change a euro cylinder
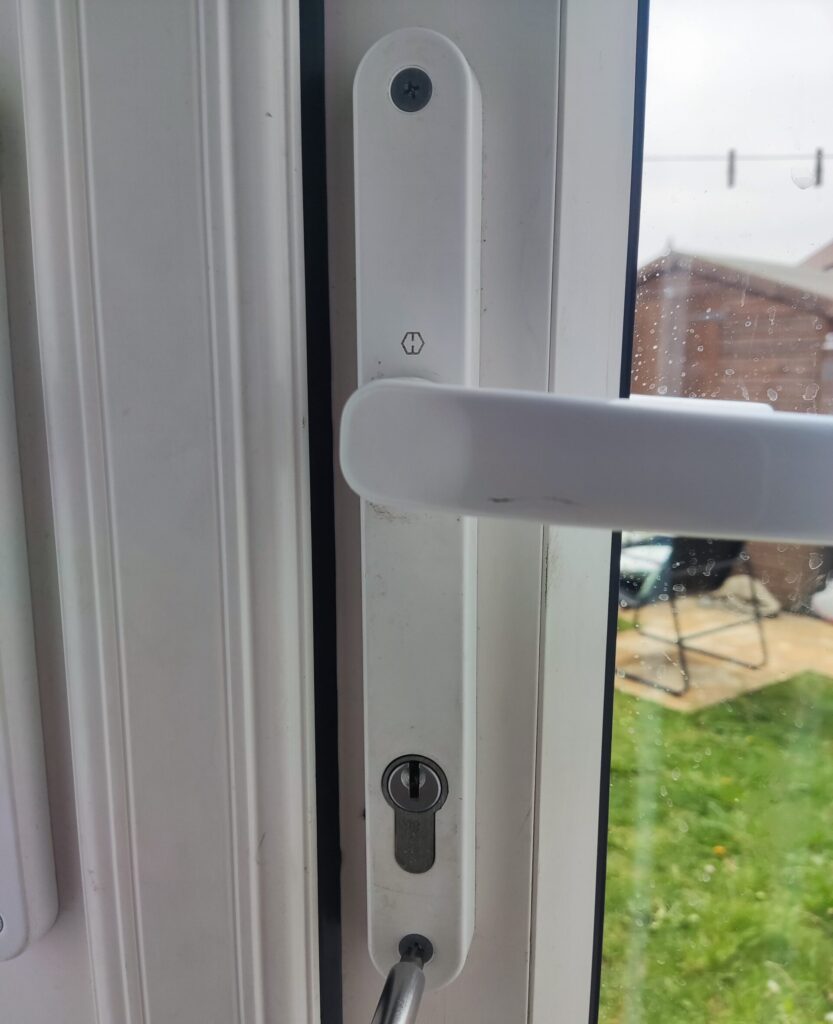
On many occasions people learning how to change a euro cylinder can fail to do this small job because they have trouble getting the lock out, struggle to align the lock cam or have similar difficulties going the other way. It is always recommended that you slightly loosen the handle screws that hold the handles on.
You only need to loosen the screws by a small amount, maybe a half to a full turn of the screw to start. This should give you the working room you need to easily remove the old lock and also insert the new lock into the aperture.
Please note, your handle retaining screws may not be at the top and bottom of the handles as shown in the picture, You may have two screws under the handle or even three. Regardless of where they are, loosen them all slightly.
Fully insert the key in the lock. Now open the door and look at the business side of the lock.
2. Remove the lock retaining screw – how to change a euro cylinder
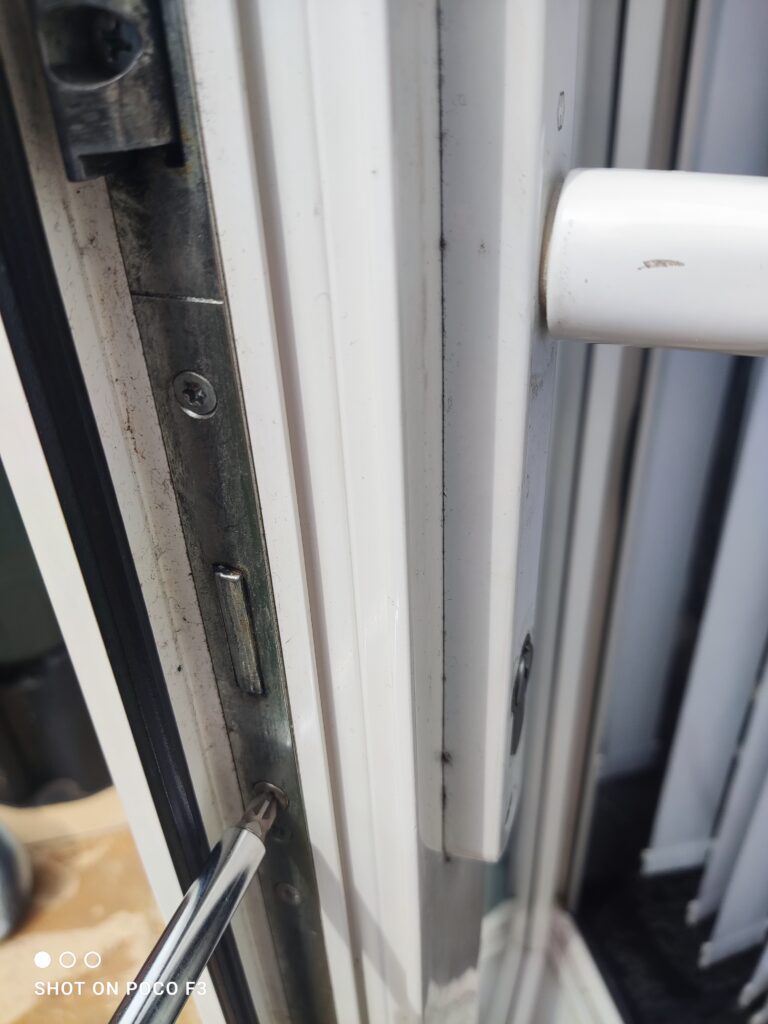
It is important now to only to remove the lock retaining screw.
It is easy to look at the mechanism or face of the lock and unscrew the wrong one. Keeping one eye on the lock, draw an imaginary line through and unscrew the one that is level with or a few millimetres up from the bottom of the lock you are removing. They usually look slightly different from the other screws in the mechanism but they are usually a posi drive screw (sometimes a flathead). Completely remove this screw.
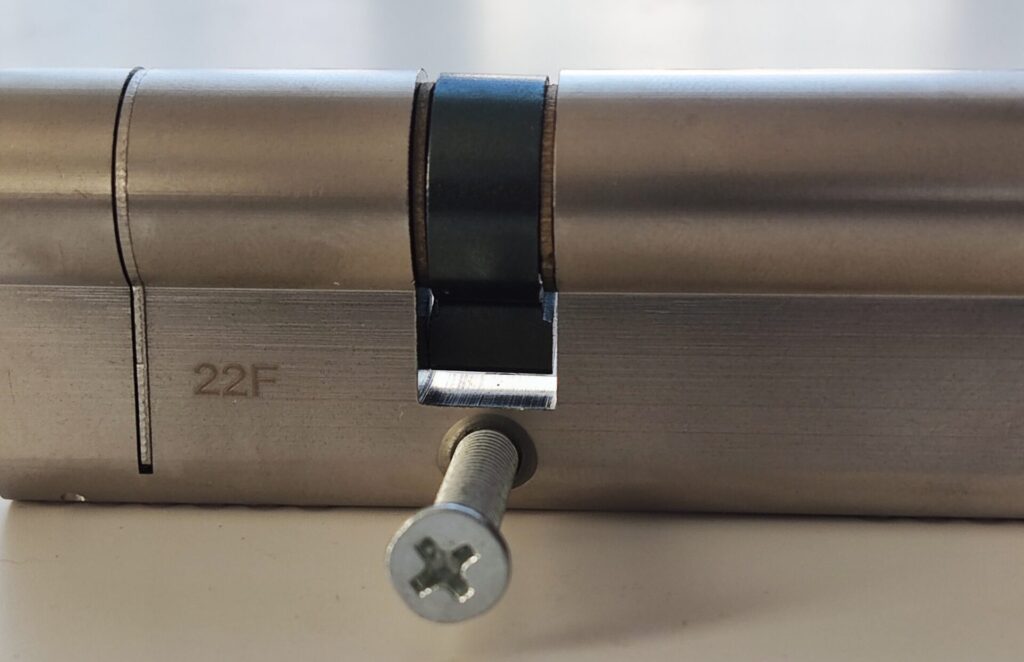
3. Remove the euro cylinder – how to change a euro cylinder
This is the tricky part. Once the retaining screw is removed you will need to move the key in the lock so that the lock cam can be removed from the aperture. They are designed so that when parked the cam makes it harder for any potential intruder to pull the lock out without the correct key.
On most euro cylinders with conventional keys this magic spot can be found at 5 minutes past 7 or 5 minutes to 5 on a clock face, depending on the lock you are removing. This can also be achieved by turning the thumbturn internally.
Slowly and lightly pull the lock towards you. If it is offering a lot of resistance then turn the key a little bit more until the cam lines up with the lock body aperture.
You will eventually hit the sweet spot and the whole lock will pull out easily.
Try to keep the key in the same position until the lock is fully extracted. Not always easily possible, but a slight turn and the cam could snag on the way out. If it does happen just readjust slightly. It is a case of nice and easy, slow and steady.
At this point, if the lock does not withdraw from the aperture and you have tried turning the key as much as you dare without it feeling as if it is not working, do not break it by forcing it under any circumstance.
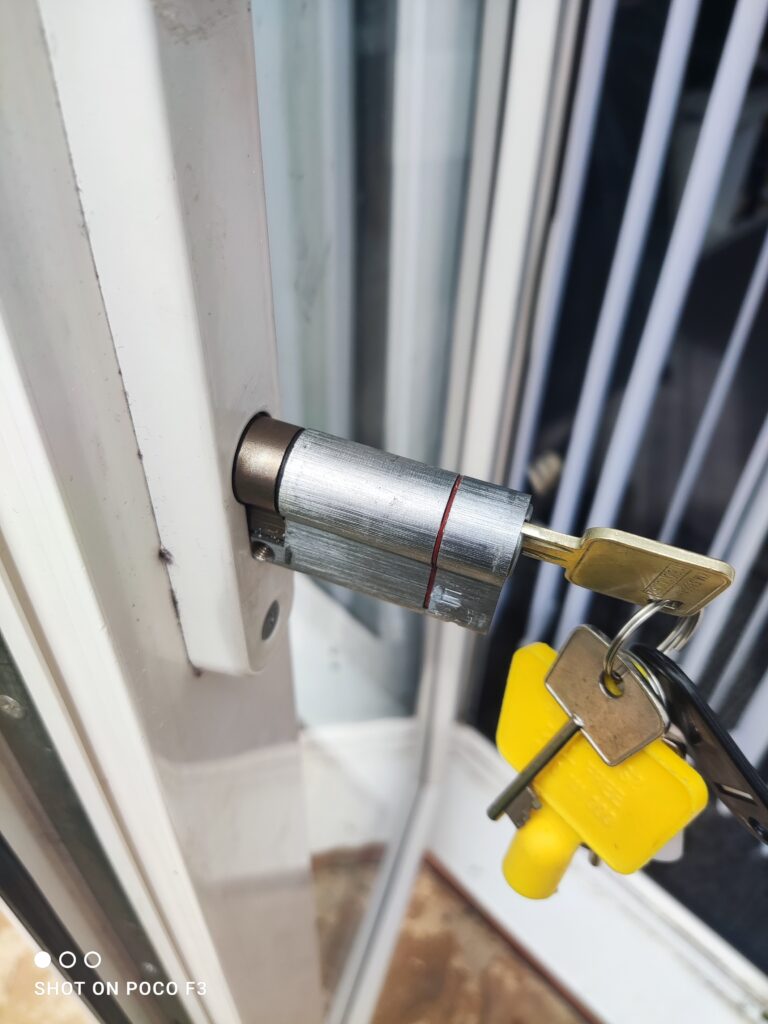
There is more than likely is a reason why you cannot remove your lock. Unfortunately for you this is when the job stops being a DIY project and you need a locksmith’s assistance.
4. Replace the euro cylinder
You have now completed all the tricky work. You can replace the lock by doing everything in reverse. You now have the knowledge of how to change a euro cylinder.
Do not close or try to lock the door unless you have tried to do it with the door open first. Make sure that the lock change has been successful and it is fully in the right place and functioning correctly. To do this, just operate the door as you normally would without having it closed.
When tightening the handle screws you need to tighten them as tight as they were when you loosened them. This might seem a silly thing to mention to some. But, over tightening the handle screws may impair the internal gearbox and lead to a whole lot of expensive repairs. Too loose and they will move as you lift the handle, again causing the internal mechanism pressure where the screws touch the case.
Pip Lockout Locksmith – 5 Star service and the best experience.
How to change a euro cylinder


